
Along with being organized, savvy working girls love having a cool and chic work space. Instead of hanging a boring store-bought whiteboard in your office, make your own unique and personalized erase board for around $5. You may even already have what you need in your house for this easy DIY [1].
Keep reading for the simple directions.
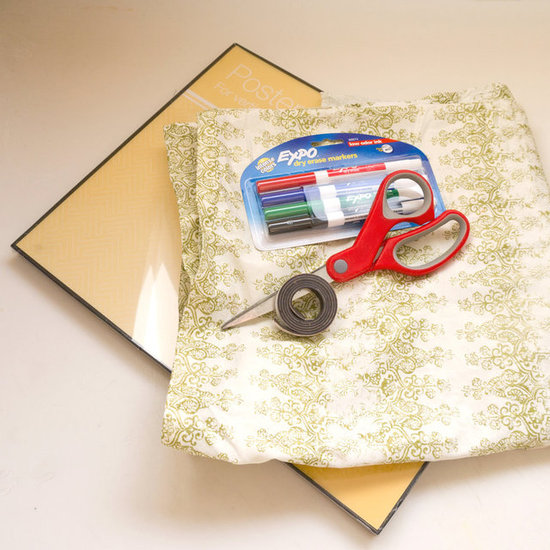
What You'll Need:
- Glass picture frame (any size is fine, but at least 11 by 14 inches is ideal)
- Fabric
- Scissors
- Ruler
- Masking tape
- Magnet tape
- Dry-erase markers
Directions:
- Remove the glass from the picture frame, setting it aside for later. Any size picture frame works for this project, but an 11-by-14-inch frame gives you just the right amount of space for writing daily or weekly notes.
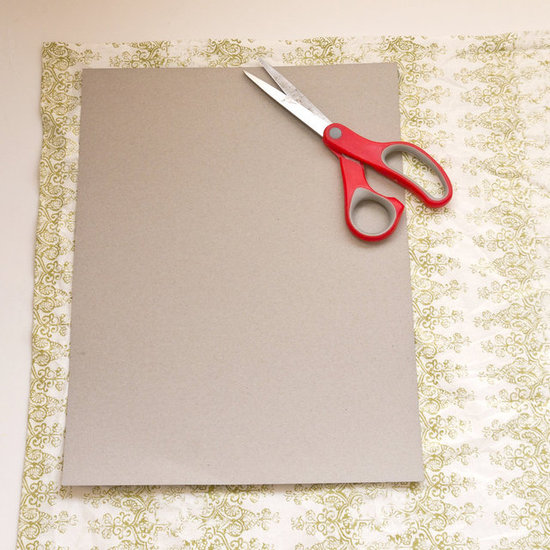
- Behind the glass of the picture frame, you'll find a backboard, which is usually made from a lightweight cardboard. Place the fabric on your work area, pattern side down, and place the cardboard on top of it to measure the section to cut for the background of your erase board. Select a fabric that has a cool pattern but isn't so overwhelmingly colorful as to make it hard to read your notes. Use a ruler to mark an inch around the cardboard on the fabric and then cut.
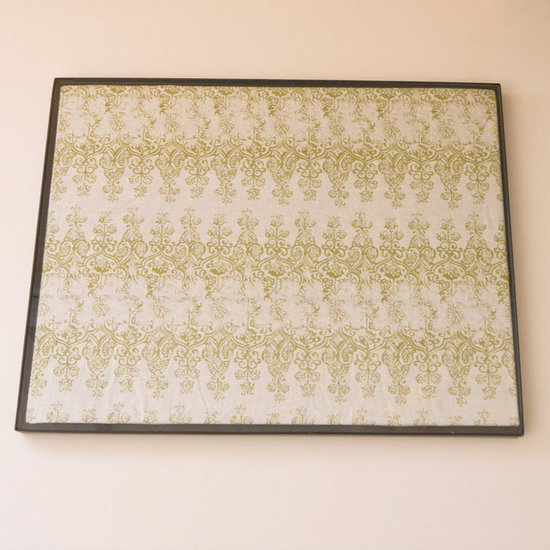
- Now pull the edge of the fabric around the edges of the cardboard and secure with lengths of masking tape, almost like you're wrapping the cardboard like a gift.

- Place the fabric-wrapped cardboard back in the frame and then replace the glass.
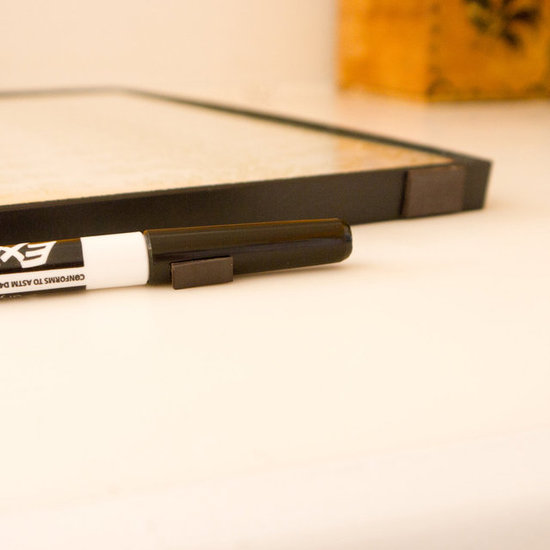
- Cut a small square of magnetic tape, which you can purchase at any office supply store, and adhere it to the side of the frame. Cut another small piece of the magnetic tape and adhere it to a dry-erase marker. Now you've got a marker handy at all times for writing on your erase board.
- Hang your finished erase board with the help of two nails positioned at the top corners, which will make it nice and secure when you're writing and erasing important reminders. Simply use a paper towel when you're ready to wipe away your notes!